Task guide / PC Early Access · November 2026
How to build your first resort and welcome skiers
Build one complete skiing loop: ticket office → reachable lift bottom → lift top → downhill trail back to the base. Assign a lifty and check snow and opening hours before expanding. Food and warmth help the first visitors, but they cannot make an unconnected or snowless lift carry skiers.
Updated 2026-11-13 · PC Early Access · November 2026
Follow these steps
Choose a starting slope, then place the ticket office
In a new resort, inspect the difficulty overlay and contours before committing your first lift. Look for a slope with an easy descent back to your starting area. Place Ticket Office from Build; its base area is the arrival point you must connect to the lift. Start small enough to keep money for staffing and the next bill.
Put the first lift bottom inside the base area
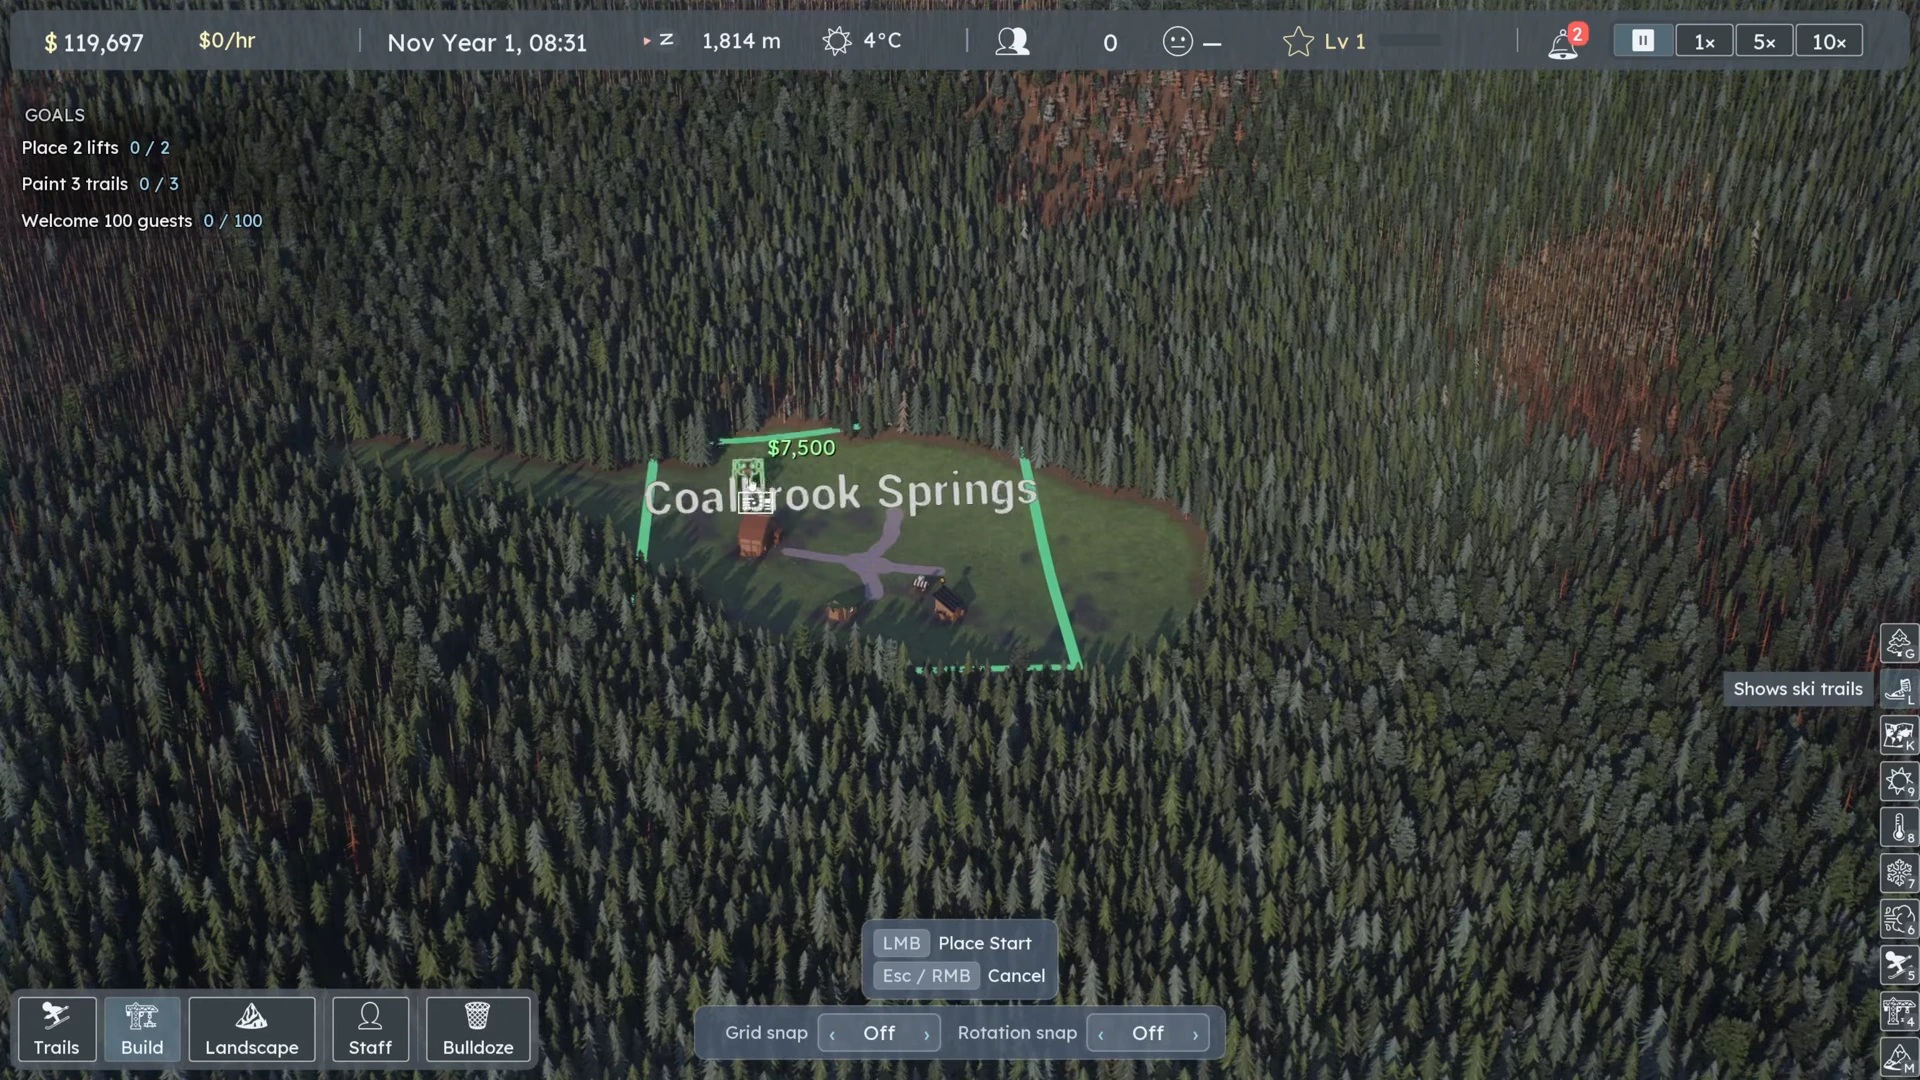
Open Build → Lifts and choose an unlocked lift. Place the bottom terminal in the ticket office’s connected area, then place the top on suitable terrain. Watch the placement warning: if the top is too steep, move the terminal before confirming. Leave physical room around the station for its queue and later upgrades.
 Open full-size image ↗
The lower terminal must connect to the arrival area. Nivarias Part 1, 04:55; exact build not shown. Draw a real way down
Open Trails and choose Regular. Start the trail in the upper hub and finish in the lower hub, following a downhill line. Use the slope overlay, choose a difficulty that fits the terrain, and check the tree-clearing quote. Once both ends sit in hubs the confirmation check becomes available; confirm the trail. Do not spend your remaining cash on extra runs before this first loop works.
Add basic services and a maintenance base
Place a Warming Hut and an affordable food or drink stand where arrivals can reach them. Paint a path to organize the base without blocking doors or the lift queue. Place a Maintenance Shop and assign a mechanic for building and lift repairs. Check its maintenance panel separately for the crew and equipment needed to clear snow; hiring the repair specialist alone does not prove that paths will be cleared. These purchases have costs; check the balance after each one instead of copying an entire village at once.
Assign a lifty and read the lift status
Select the lift and use its staff/assign controls to hire and assign a lifty. Hiring someone without assigning them to that lift is not the same as operating it. Check the displayed opening hours. If the lift is waiting for snow, inspect the run from its top and the weather forecast; adding another lift does not create skiable snow.
Follow the first skier through the loop
Advance time into opening hours with usable snow. Watch a guest reach the queue, board the lift, leave at the top and ski down your trail. In the public starting example, visitors arrive before there is snow and initially leave after using services; skiing starts once snow arrives and a lifty is assigned. Expand only after the whole loop works.
What success looks like
A guest boards your staffed lift, reaches the upper station and skis the connected run back toward the base. Visitors buying snacks alone are not proof that the skiing loop is working.
If it does not work
If nobody boards, open the lift’s status first: check assignment, hours, snow at the top and any reachable-queue warning. Inspect the trail’s Edit warning and both hub endpoints. The No Guests guide gives a condition-by-condition check for an already built resort. Avoid rebuilding everything when one status identifies the missing link.
Sources and version notes
- Nivarias Part 1: site selection, first lift, trails and first skiers ↗
Sponsored public full-game footage; exact build not shown. Not our own playtest.
- Official CL6797 patch notes ↗
- Official CL6444 patch notes ↗
- Official CL6119 patch notes ↗